Step 1 – Choose Your Roofing Material
Exposed Fastener Metal Roofing Panels
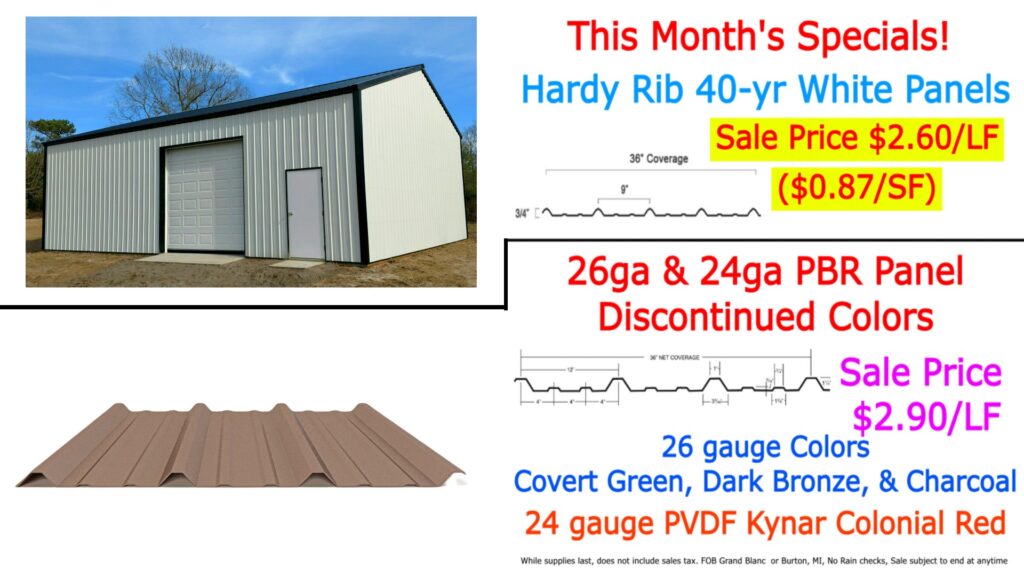
The hardy rib panel’s design is the most common exposed fastener metal roofing panel design in the industry and comes in 3 ft wide coverage panels, cut to the length you want from 3 foot to 55 feet in 1 inch increments. This is an exposed fastener roof meaning that you will see the screws when you have completed your roof. The most common screw pattern used is 24 inch on center. Meaning every 24 inches up the panel you will place another line of screws.

Hidden Fastener Metal Roofing Panels
The HardySnap, HardyClip and the HardyLoc are hidden fastener standing seam panels used on residential, light commercial, and industrial buildings. These panels take a little more finesse to install than exposed fastener panels. The panels come in a 16 inch standard width and are cut to any length from 2 foot up to 30 foot. This panel is secured with a hidden fastener system where there are no screws showing through the roof. These are commonly fastened every 24 inches.
Steel Shingles
The third type of metal roofing available is a steel painted shingle. We are a distributor for MetStar Shingles and Edco Products. They both have several styles and colors available and have been in the metal panel industry for many years.
The fourth type of metal roofing panel system available is a Unified Steel Stone Coated Shingle system. These are metal shingles that are made to resemble the look of an asphalt shingle roof but have the longevity of a metal roof. Unified Steel Roofing has several different styles to meet your needs.
Step 2 – Make a Sketch
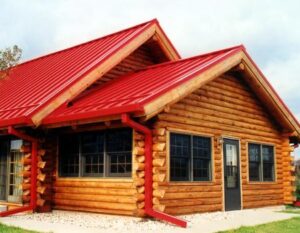
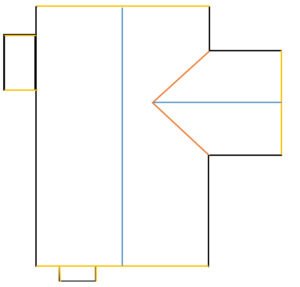
Once you have decided what type of metal roof you want, you can now determine your materials by starting with drawing a sketch of your home or building, like the sketch below.

Key
Blue/ Ridge Cap
Black/ Drip Edge/Eave Edge
Orange/ Valley
Yellow/ Rake Edge
Be sure to include measurements for all pipes, skylights, chimneys, valleys, sidewall, head/end wall, hips, dormers, and transitions into the sketch. The best thing to do is measure every dimension of the roof, and everything that is on the roof.
If you are unsure of the different types of trims available. Then click on the links below to view the different trims available.
Trim Profiles
Click Here for Hardy Rib Trim Profiles (PDF)
Standing Seam Trim Profiles (PDF)
We can also make trims to your specs. If you can draw it we can most likely bend it.
Make sure to include a key so that it is simple for you to identify the different pieces of your house.
Step 3 – Measure Everything
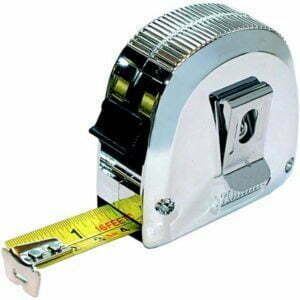
Next, you need to measure everything on your house. Start with the drip edge. Measure all of the areas that will need drip edge. This is also known as eve edge.
Next measure all of the areas for the ridge cap (AKA the Peak). This measurement will double as figuring out how many panels you need by dividing the width of the panel.
 For Example: The ridge in the center of the above picture is 60 feet long. If you were calculating for the Hardy rib panel you would divide that number by 3 and then because there are two sides you would multiply that by 2. That would give you 20 panels per side of the roof with a total of 40 panels, for that one section.
Next, you want to measure all of the Rake/gable edges. This will determine what length panels you need and the amount of gable trim you need. You can easily do this by measuring from the Drip Edge to the center of the Ridge Cap. Keep in mind it is better to add a couple of inches extra to the lengths and not recommended to remove any inches from the lengths. It is more cost-effective to add a few inches than to repurchase new panels if they fall short due to you removing a couple of inches. Metal panels are non-returnable due to them being custom-made for your project, so if your panels become unusable due to you not determining the correct length the cost will fall on you to rectify the issue.
For Example: In the above sketch, if you measure 14 ft from the Drip Edge to the Ridge Cap that would give you the panel length you need for that part of the house.
The last thing to complete the drawing is to measure all other parts of the roof. This would include the valley lengths, amount of sidewall, end wall, transition pieces, skylights, and brick chimneys. Measure all of the pipes that go through your roof to be sure you purchase the correct pipe boot flashings.
Step 4 – Calculate Materials

Now that you have all of the measurements of your house, you need to figure up how many pieces of each item you need.
-All trims come in 10 ft length pieces.
-Hardy rib panels are 3 ft wide.
-All of our Standing Seam panels are made at an industry-standard width of 16 inches (The Hardy Snap and Loc panels are also available in 12 inch or 20 inch wide panels when requested.)
Other things that may be needed.
- To view pipe boot sizes click here.
- Don’t forget to include what sections need vented ridge foam or non-vented ridge foam.
- Closure foam for the eve edges and valleys
- If you are in need of snow protection click here.
- Fasteners for the panel.
- Ice and water shield, along with synthetic felt.
- Roofing nails or staples for the Ice shield or felt.
- Trim screws or rivets.
- Hand tools including a good pair of sharp tin snips and a pair of hand benders.
- Touch-up paint.
- Sealant which includes caulk or butyl tape.
We can also figure out the materials needed for you as long as you have a complete sketch. If you only have a set of blueprints then we suggest only using the list as a budget list since almost all blueprints do not provide accurate measurements due to human error when building structures. Our material lists are estimates and are not guaranteed to complete the project. We add extra to the material list to ensure you have enough material to complete the project regardless if the products ordered are returnable or not.

